My wife decided she wanted to raise chicken, so I offered to build her a Chicken Tractor, a movable chicken coop. She was under some time pressure to start, so I estimated it could be built in 2-3 weeks. Below is an outline of the actual project progression:
1/10 Foundation frame work
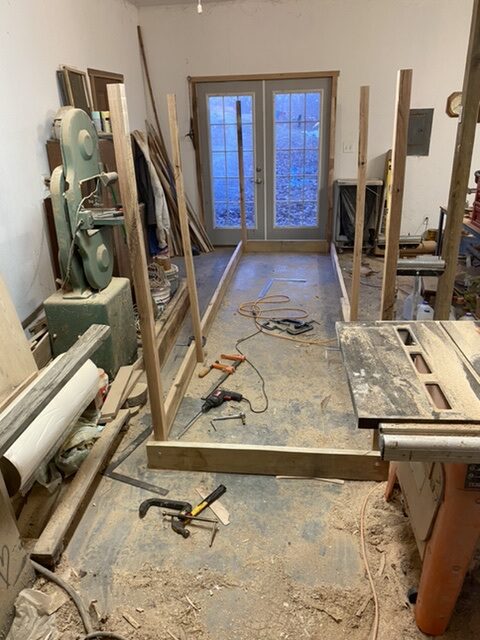
1/12 Coop floor joist
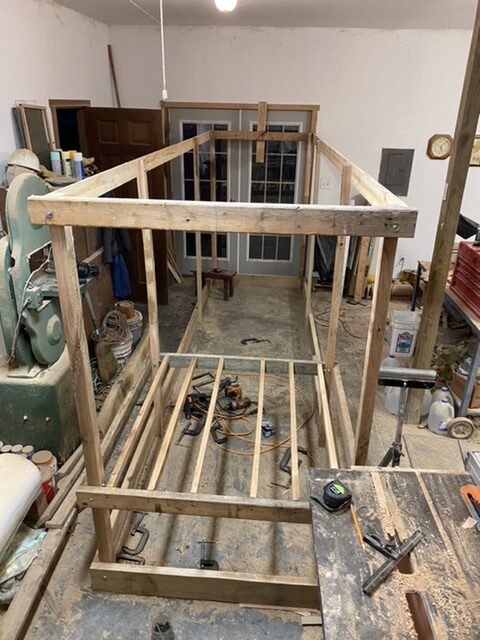
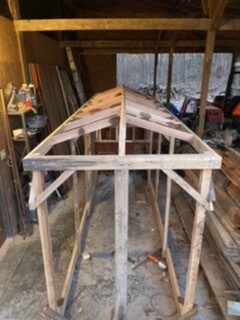
1/14 Coop floor and roof ridge pole completed
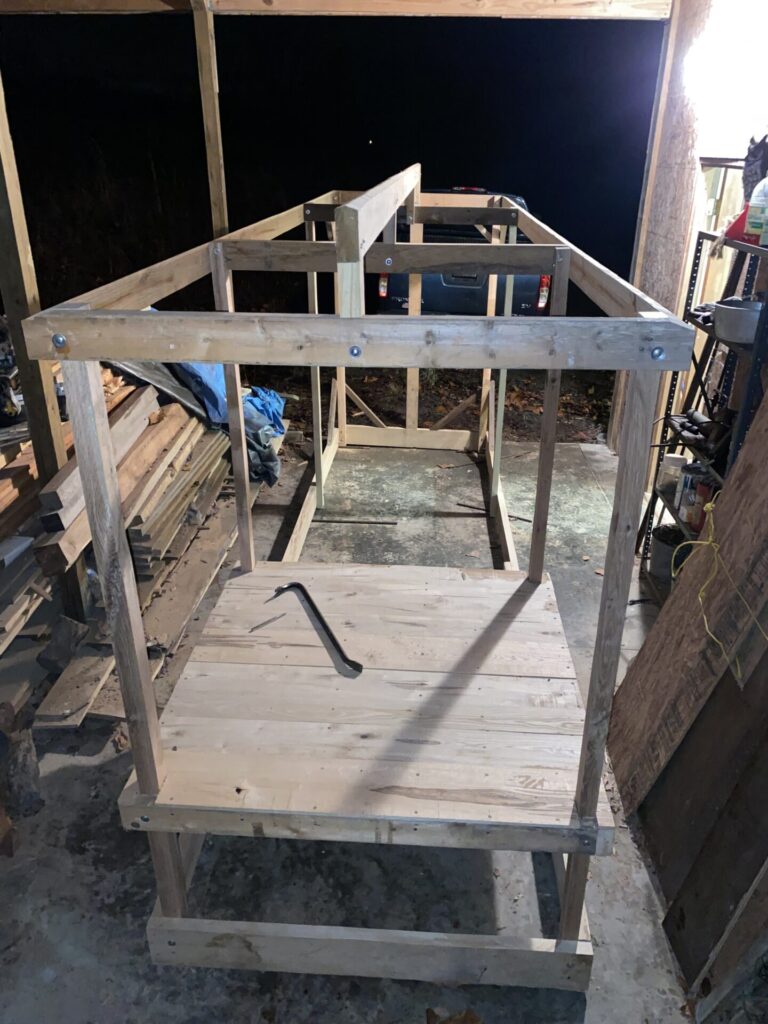
1/16 Remove framework from shop (remove & reinstall ridge pole)

1/18 Studs and nesting boxes added to coop
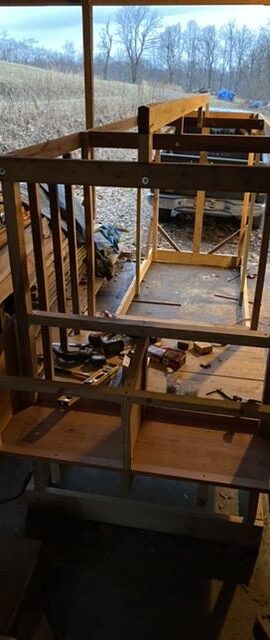
1/20 Walk-in door started and nesting boxes segmented
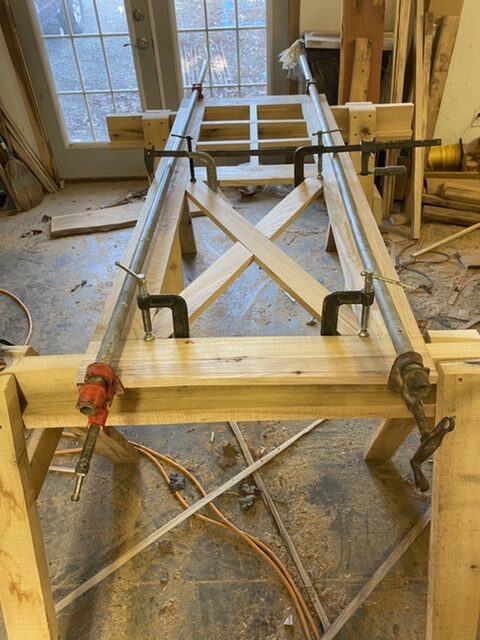
1/23 Sliding Chicken door mechanism fabricated, walk-in door glued up
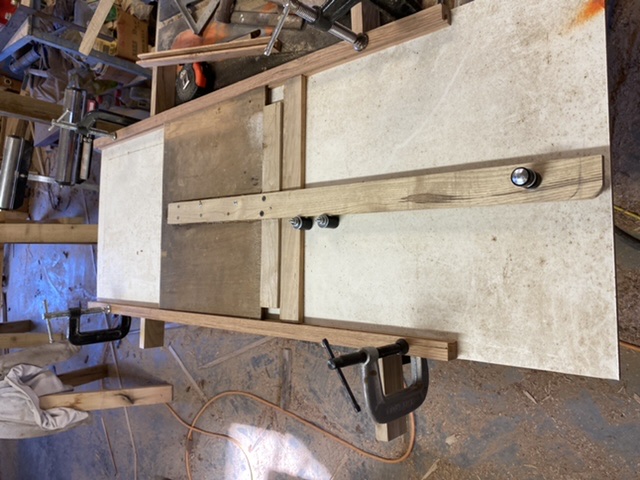
1/25 Both doors installed
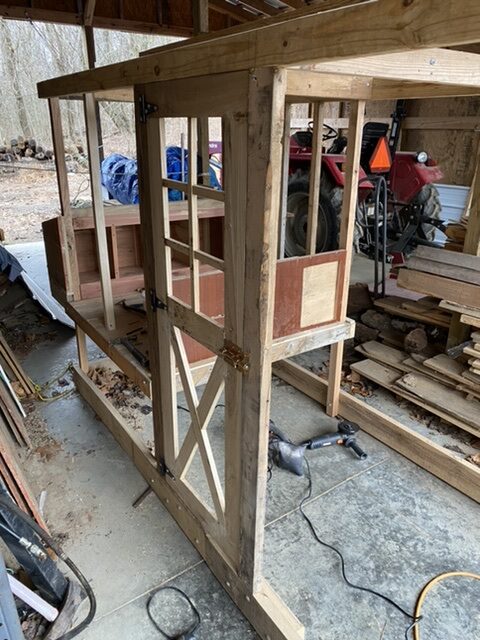
1/27 Plexiglass windows made and rafters installed
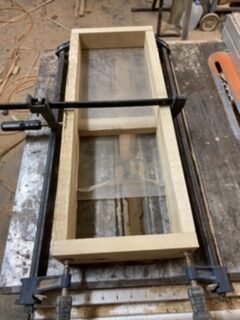
1/30 Side doors made, Purlins installed and underpayment applied
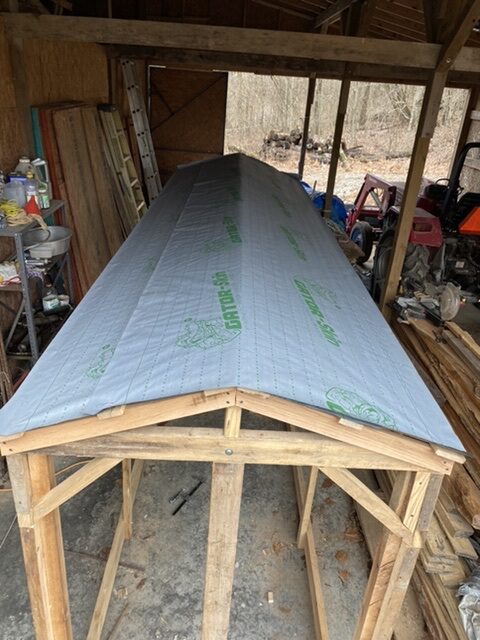
2/1 Metal cut and applied to roof. Underpayment put on coop walls
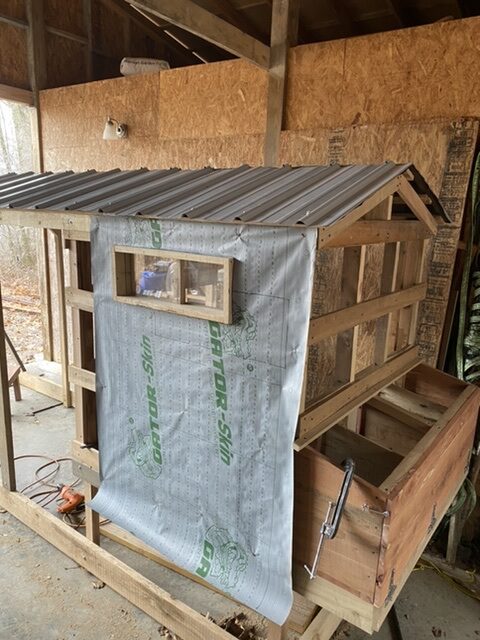
2/3 Metal applied to coop walls, nest box top installed, floating chicken ramp installed and wire covering started
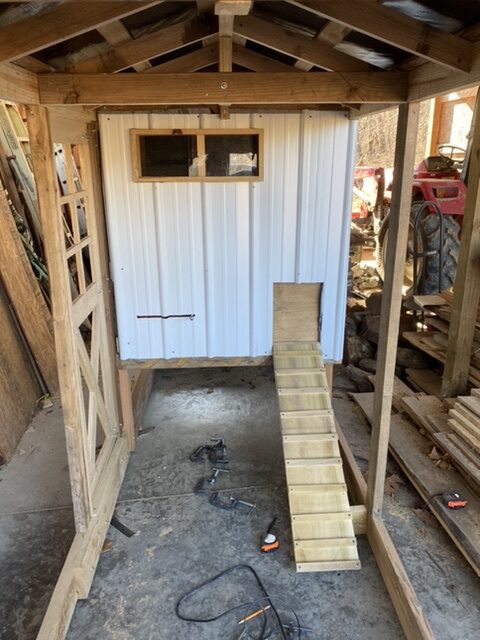
2/6 Wire 90% finished, steel wheel structure cut and laid out
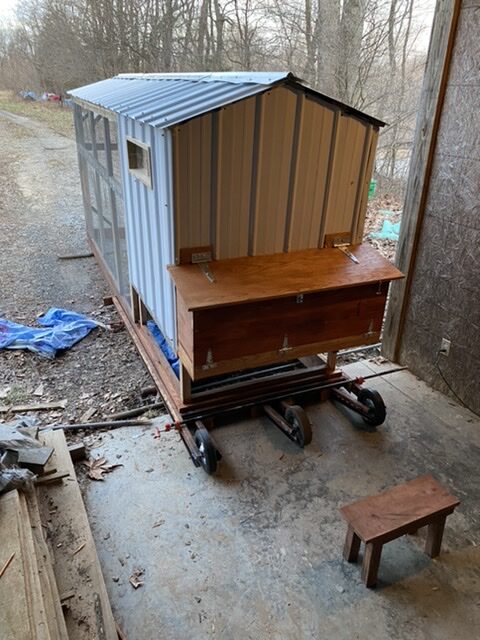
2/7 Welding finished, wheels secured on axles
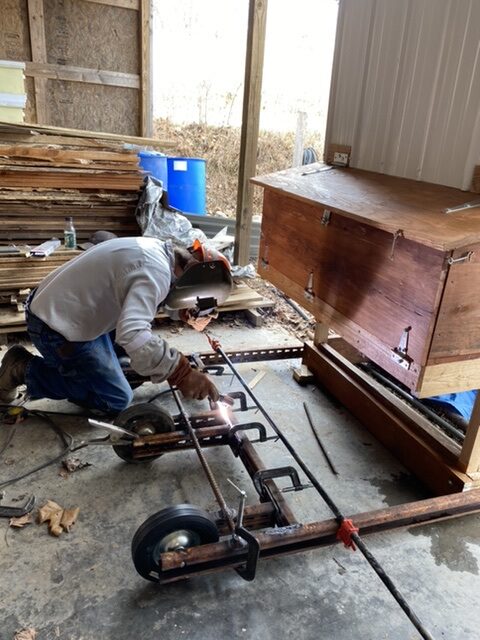
2/9 Roosting poles fabricated
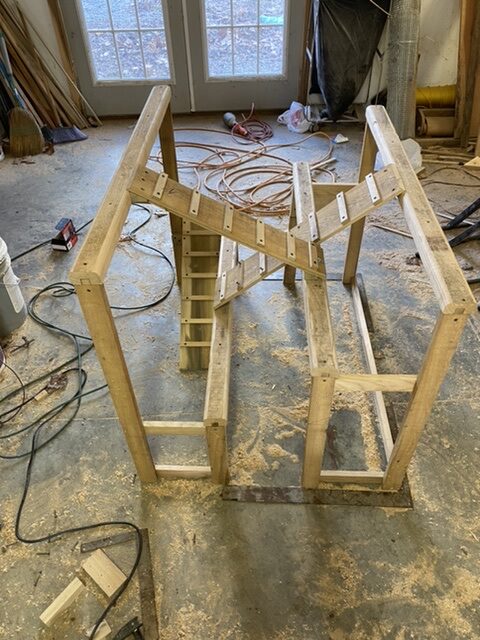
2/10 Coop insulated, ramp added, roosting poles installed, wood shavings put in coop and nests. Tractor moved into field and complete
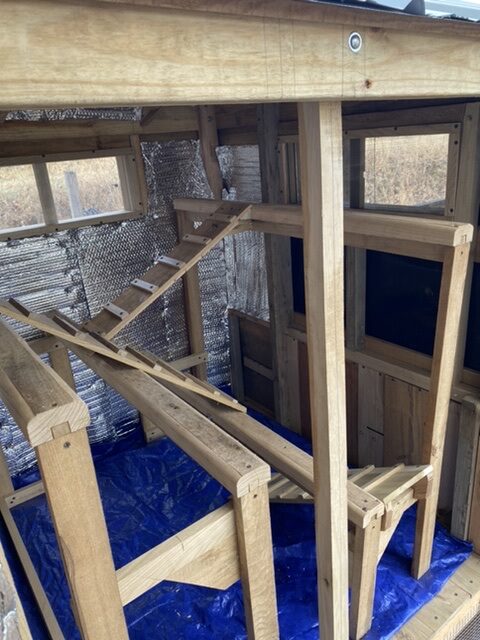
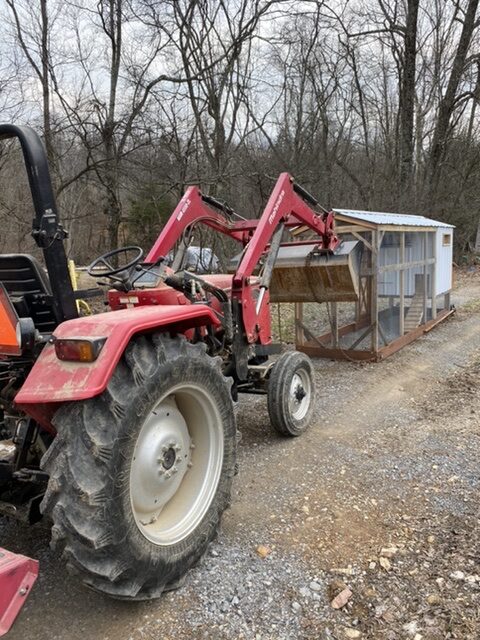
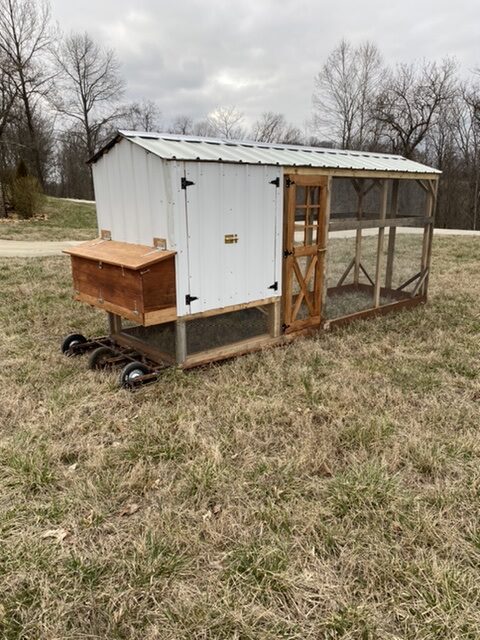
It took exactly one month, but the complexity and quality of the design and fabrication extended the project. For example, locust was used for critical parts as was sassafras and red cedar which are deterrents to insects and rot. The doors, windows, roosting poles, wheel frame and nesting boxes were custom made requiring extra fabrication and design.
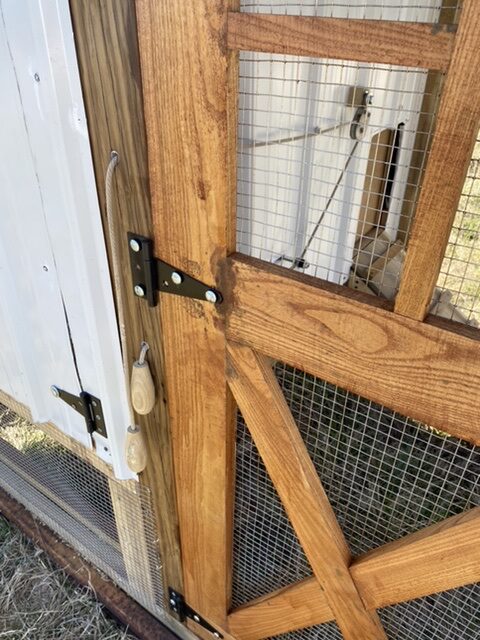
As fine tuning, I added rope pulls to the chicken door so that it can be opened and shut from outside.
Leave a Reply